A tour of a project
The header, the tool tabs and the three buttons that manage a project.
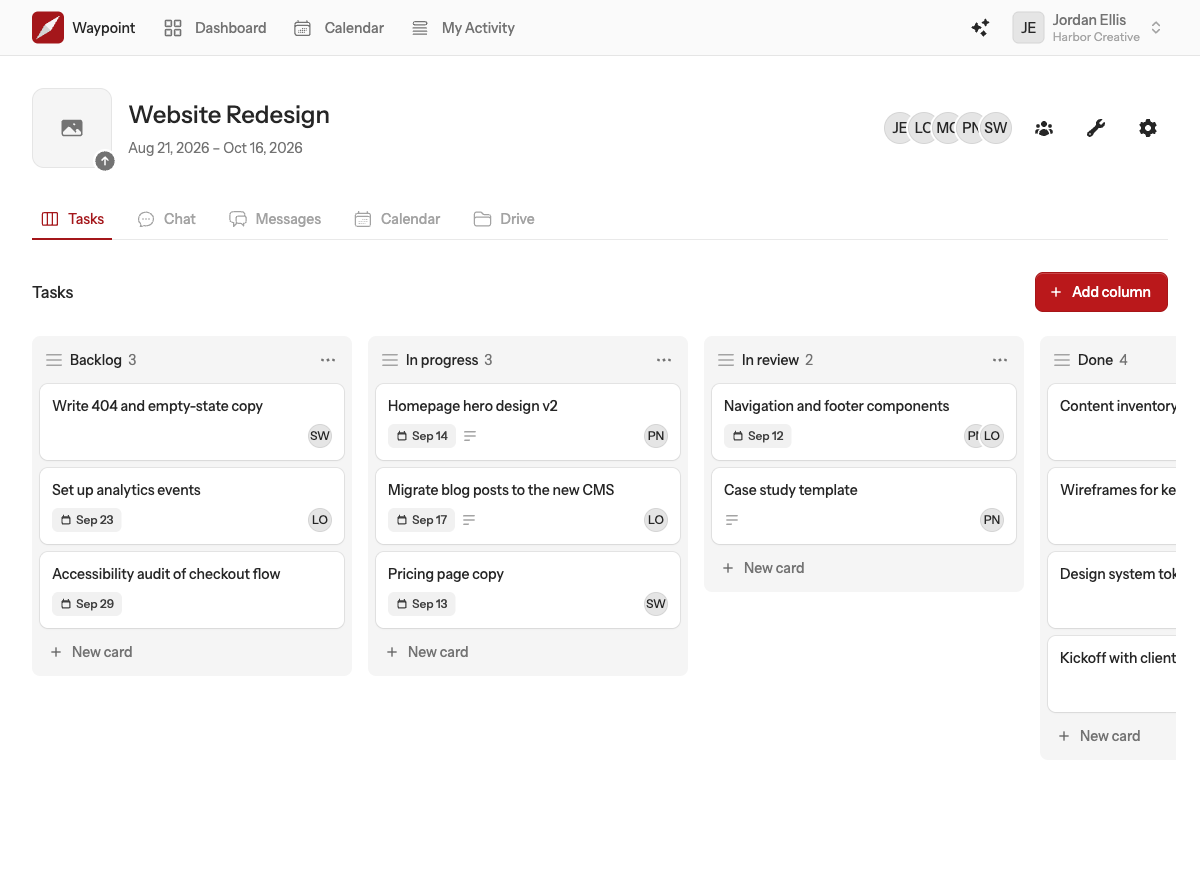
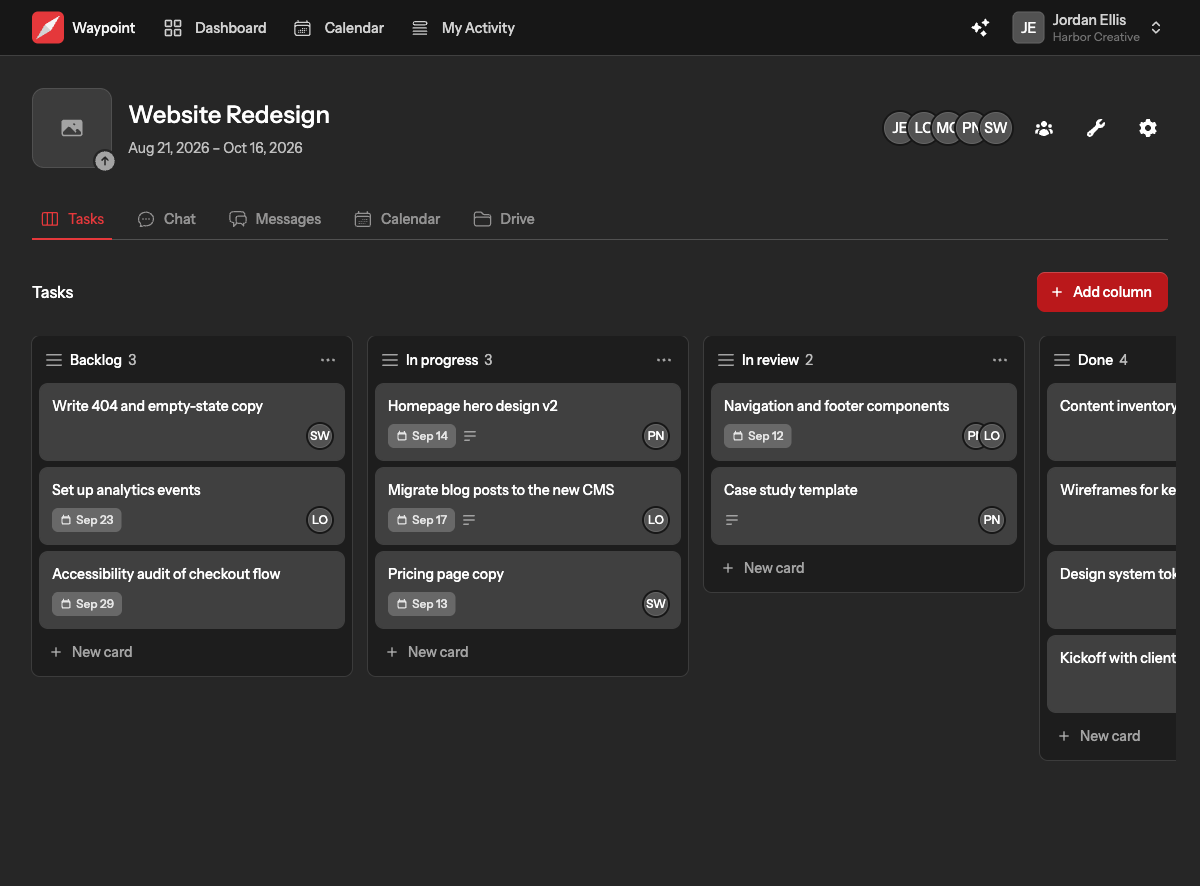
Open any project from your dashboard and you will find the same layout every time: a header with the essentials, a row of tabs for the project's tools, and the tool itself underneath.
The header
From left to right the header shows:
- The avatar. Click it to upload an image for the project. Until you do, Waypoint shows the project's initials.
- The title and dates. The status under the title updates itself from the dates.
- Who can see it. The avatars of everyone with access.
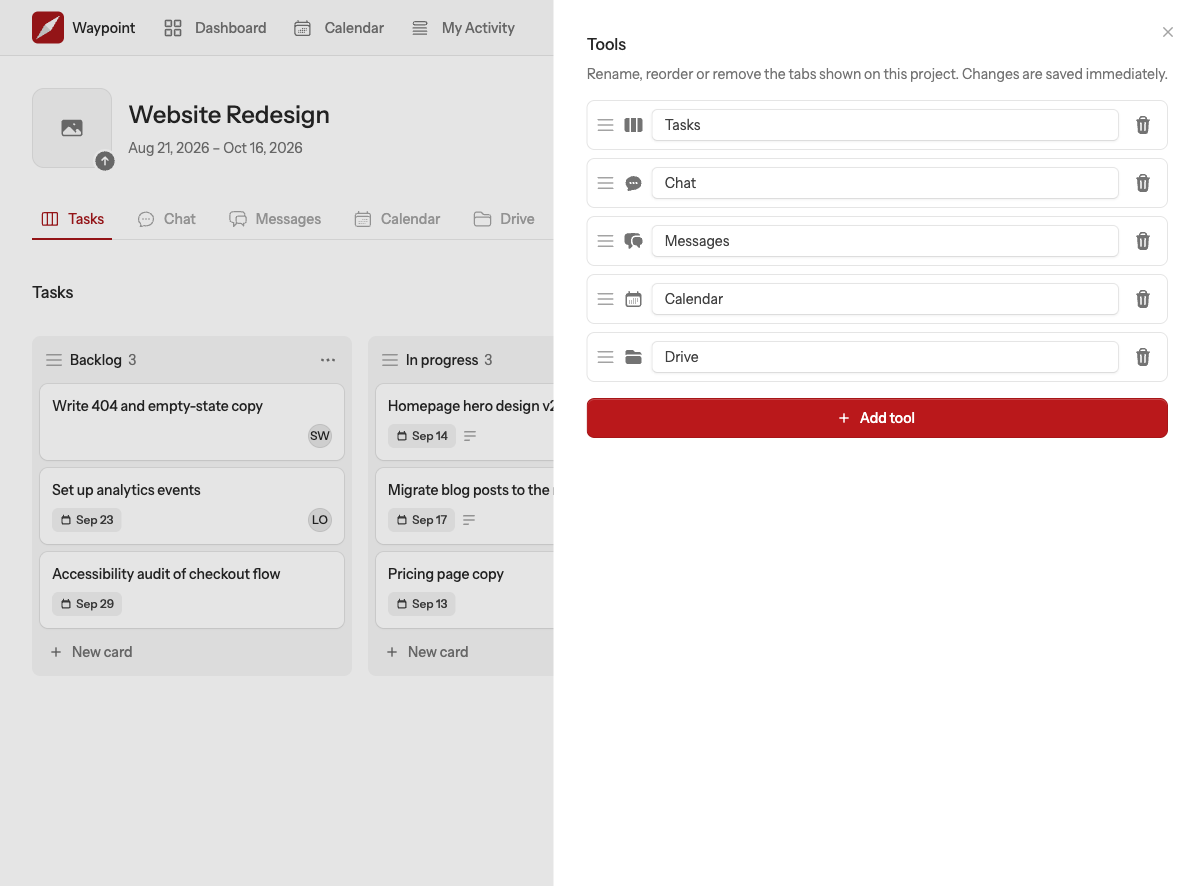
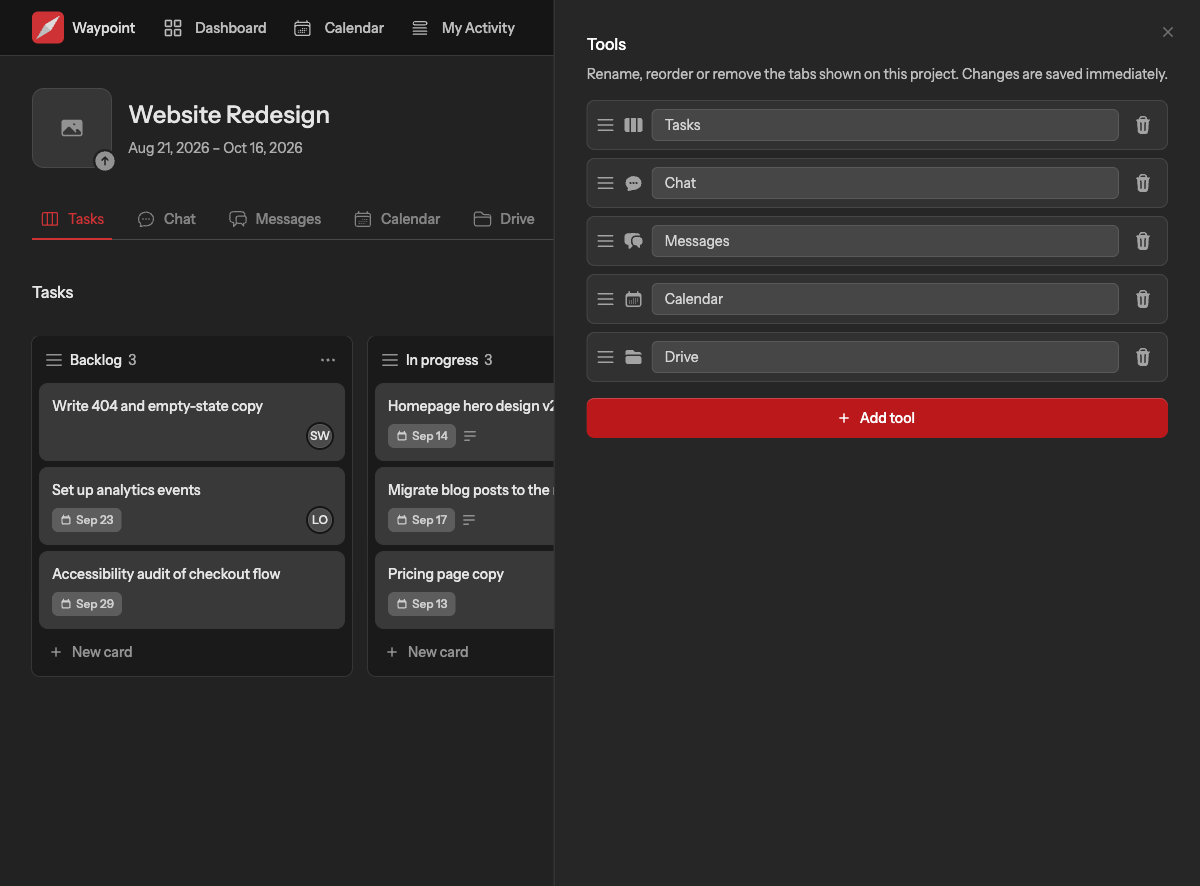
- Three buttons. Manage members chooses who is assigned, Manage tools adds, renames, reorders and removes tabs, and Project settings edits the title and dates and is where you delete the project.
The tool tabs
Each tool you add becomes a tab. Tabs keep the order you set in Manage tools, where you can drag them into place. The tab you last opened is remembered in the address, so a link to a project can open straight onto its calendar or chat.
What each tab does
| Tab | Use it for |
|---|---|
| Messages | Announcements, decisions and discussions with replies that stay attached to the post. |
| Tasks | Columns of cards with assignees, due dates and descriptions. |
| Chat | Real-time conversation for the people on the project. |
| Calendar | Events with participants, links and files, including repeating ones. |
| Drive | Documents written in Waypoint, uploaded files and links, arranged in folders. |
Who can do what
Anyone who can see a project can work in every tool on it: post, reply, add cards, upload files and add tools. Only team owners and admins can change who is assigned to a project or delete it. See Who can see a project.