Creating your first project
Start a project, add the tools it needs and bring in the right people.
A project is the home for one piece of work: a client engagement, a launch, an internal initiative. Everything about it, from the plan to the conversation to the files, lives inside it. Here is how to start one.
Create the project
- On your dashboard, choose Create project in the top right.
- Give the project a title. That is all it needs to begin.
- Choose Create project.
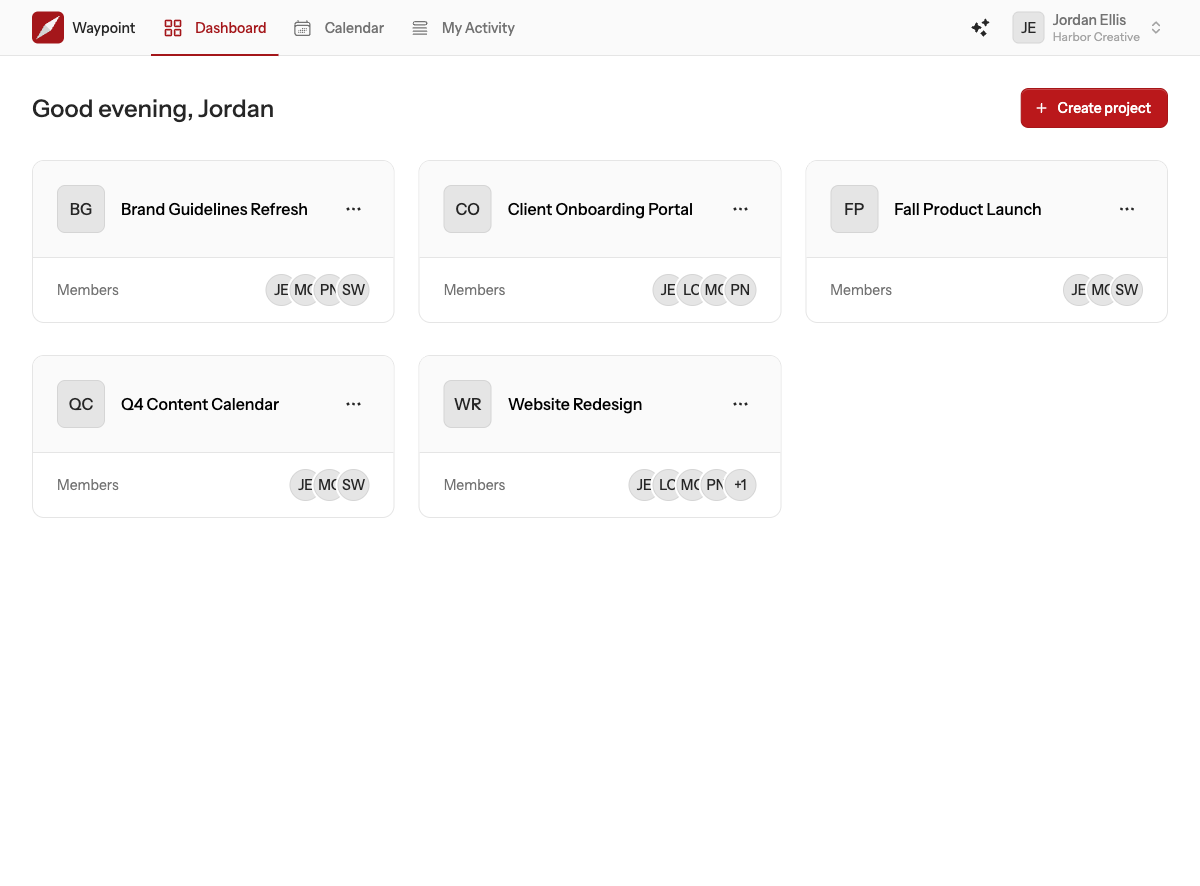
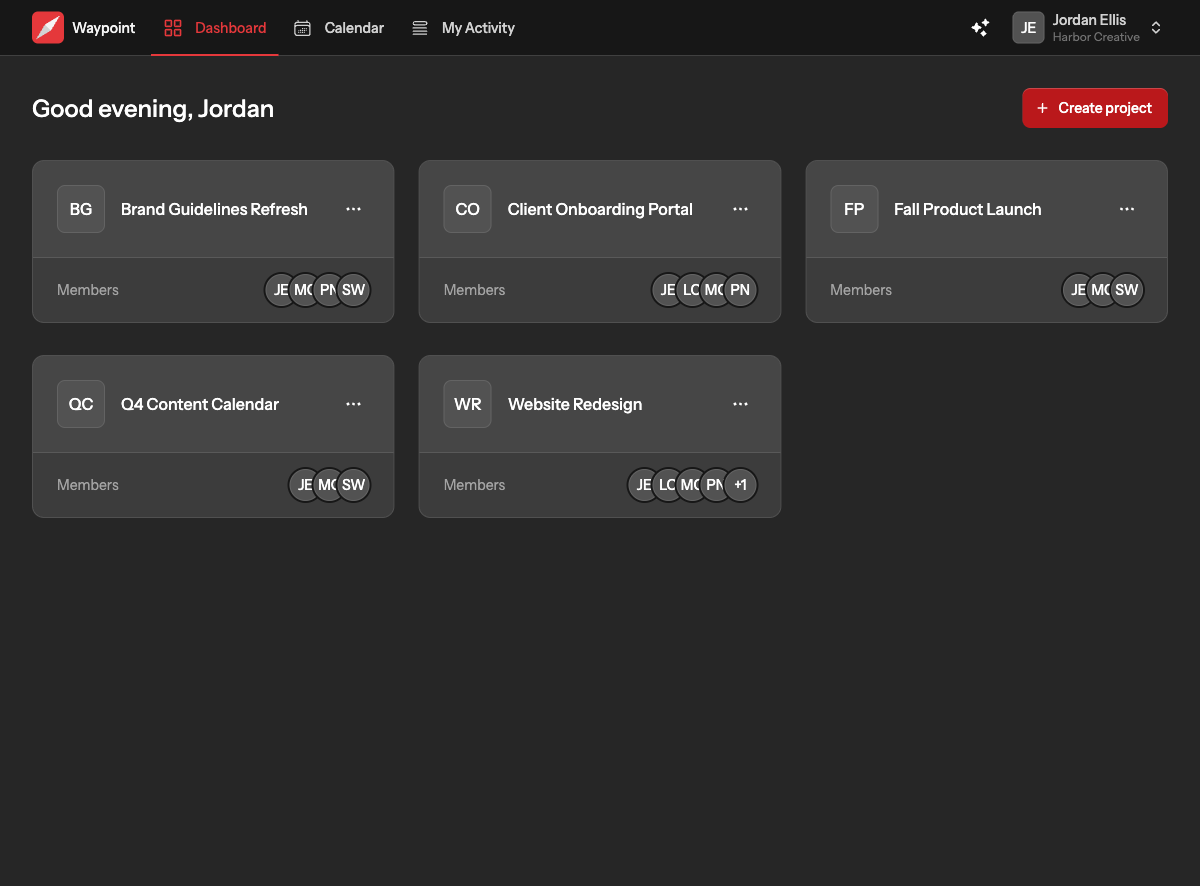
Waypoint opens the new project. It has no tools yet, which is deliberate: every project gets exactly the tools it needs and nothing more.
Add the tools it needs
Choose Manage tools (the wrench in the project header) and then Add tool. Pick from:
- Message board for announcements and discussions worth finding again.
- Task board for cards you drag between columns.
- Chat for quick, real-time conversation.
- Calendar for kickoffs, reviews and deadlines.
- Drive for documents, files and links.
Each tool becomes a tab on the project. You can add more than one of a kind, for example two task boards, and give each its own name. Read A tour of a project for what each tab looks like.
Set dates, if you want them
Choose Project settings (the cog) to add a start and end date. Waypoint then shows the project's status, upcoming, active or finished, on the dashboard and in the project header. Dates are optional; a project with no dates simply shows as not scheduled.
Bring in the right people
Team owners and admins see every project automatically. Everyone else sees only the projects they are assigned to. Choose Manage members (the people icon) to pick who is assigned. If the person is not on your team yet, invite them first.